|
|
You have reached Our silly little website |
||||||||||
|
|
|
|
|
|
|
|
|
|
||
|
|
|
|
|
|
|
|
|
|
||

|
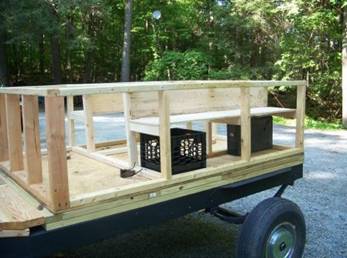
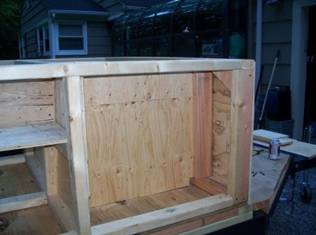
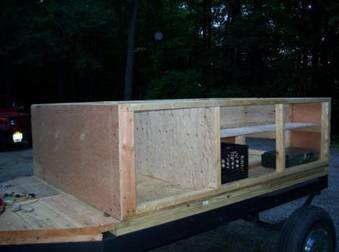
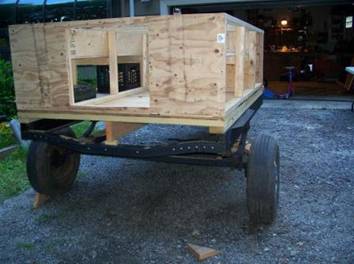
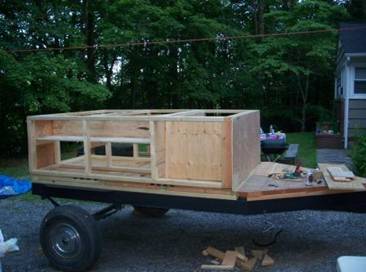
The
Glorified Chuck Wagon project page 4! I’ve
been pretty busy for the past few weeks, but I need to get this thing
done. I want to be able to test drive
and get the kinks worked out before I take it in Sept. Today
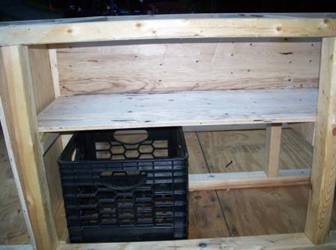
I started by getting the shelves in.
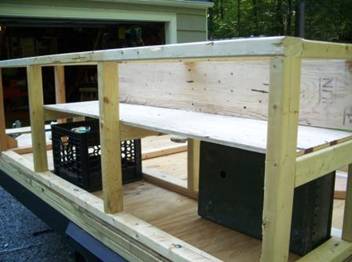
Then
I started buttoning up the inner walls.
I’m trying to get the most out of the plywood, so scrap pieces
are being used as much as possible. I
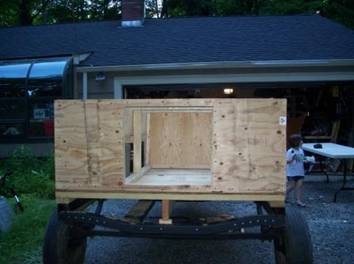
also put on the front piece and rear backing.
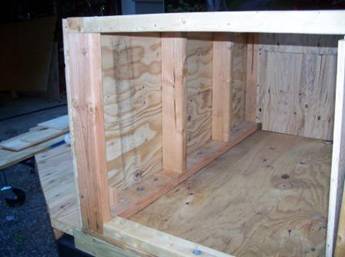
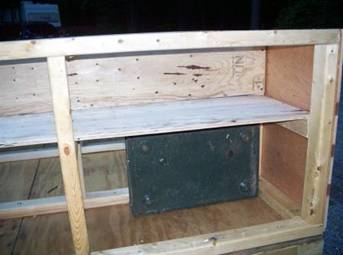
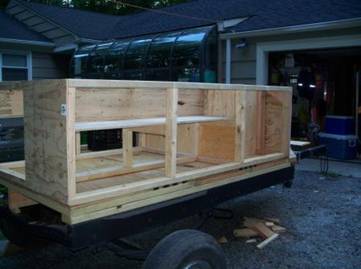
The above cabinet will be for the
electrical area.
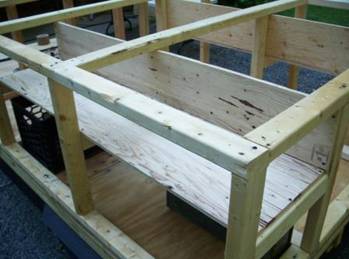
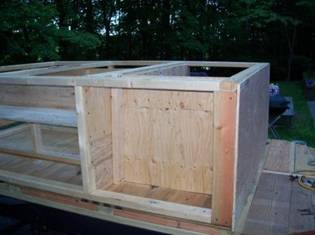
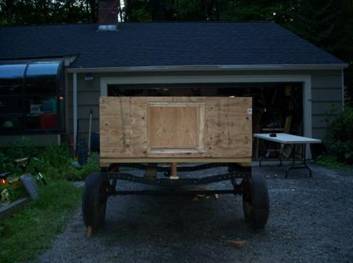
The
front cabinet is the back side of the electrical panel area. This can hold larger storage as
needed. (below)
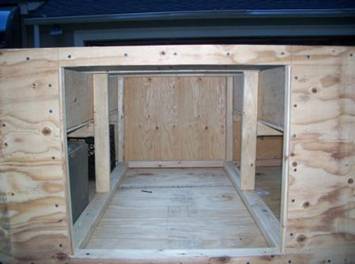
The
cabinets are the same size on both sides.
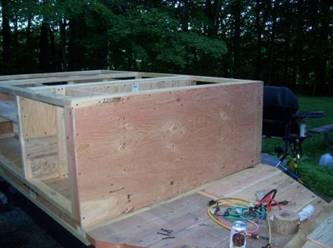
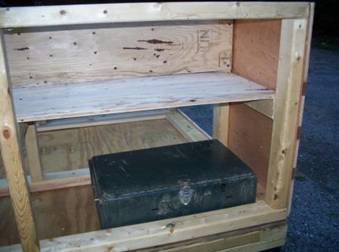
I can get the crates for storage on the bottom level, so I did fit the
build for them. Also made sure the
stove fit, someone one was throwing that one away. Has all the part, just needs to be cleaned
up.
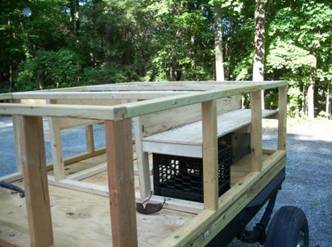
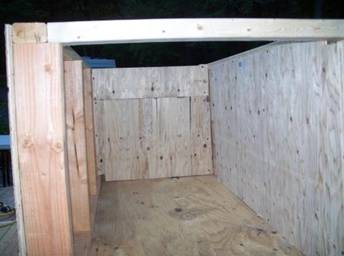
I’m
going to place scrap wood down the backside between the rear storage and the
side compartments, so that will be last.
I do want some air flow between them, so it will be just a minimum
barrier to keep stuff from rolling all over.
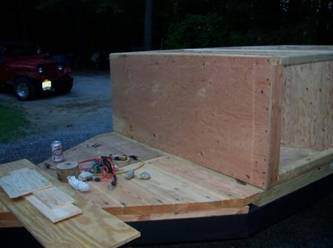
I
think it is starting to look pretty good |
|
|||||
|
|
|
|||||
|
|
|
|
|||
|
Do you want to be notified when there is an update? If you wish to inflict that kind of pain on
yourself, click HERE! |
|
||||